

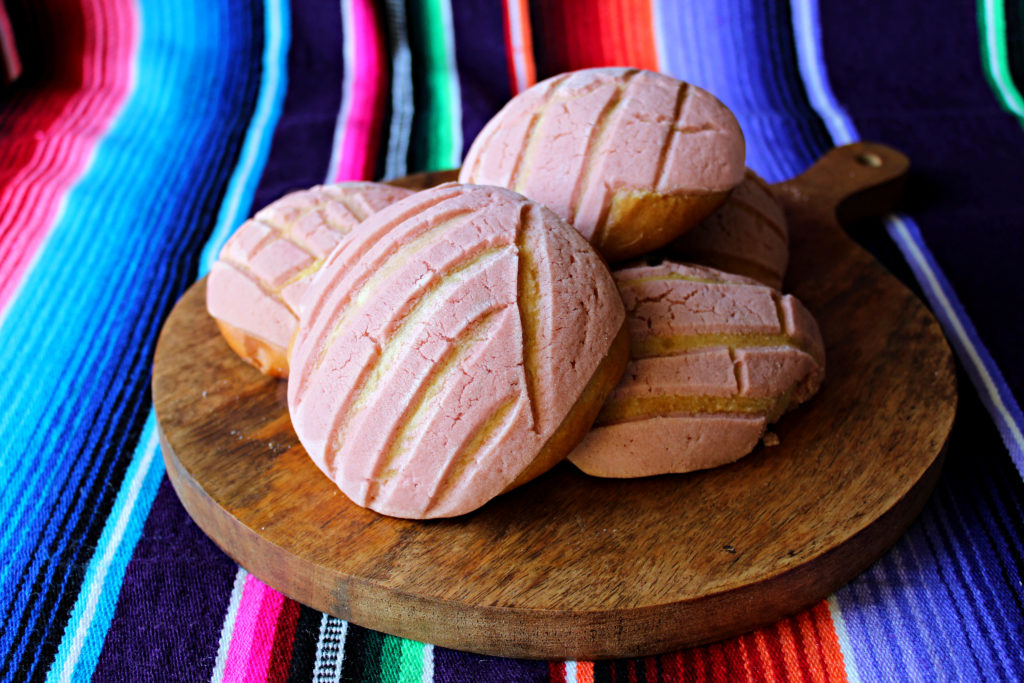
Conchas. Everybody’s favorite pan dulce, or Mexican sweet bread.
Enjoying a concha with your morning cafecito is the best way to start your day. Most panaderias will have soft, warm conchas available first thing in the morning, but every once in a while you want something a little extra…like homemade conchas.
Conchas are made with yeast, but these are pretty simple to make. In fact, most of your time will be spent waiting for the bread to proof. So you can spend your time alphabetizing your JuanGa albums.
ALL GOOD THINGS COMES TO THOSE WHO WAIT.
That being said, I urge you to be patient. In my kitchen, the bread took 2 to 4.5 hours for the first proof. The first test, I rushed and it didn’t come out as light and fluffy as I hoped. The second test, Stephen had the heater on in the early morning, so by the time I started baking it was nice and warm so the bread proofed in 2 hours. The third time the bread didn’t rise at all in 2 hours, and I almost chucked the whole batch. Instead, I left it alone and went about my business. This one took 4.5 hours and I was thrilled with the results. The last batch took 3 hours for the first rise and 40 for the 2nd rise.
Concha know you gotta be patient?!
If your oven has a proof function, use it! Otherwise, let your dough proof in your oven with the light on, no temperature needed. You can also swaddle it in your rebozo.
Conchas
Ingredients
Dough
- 18 ounces all-purpose flour
- 1 teaspoon ground cinnamon
- 1/4 teaspoon salt
- 5 ounces sugar
- 3.5 ounces whole milk (or almond milk)
- 3 1/2 teaspoons active dry yeast
- 1 teaspoon vanilla extract
- 4 large eggs
- 4 ounces unsalted butter, softened
Sugar Paste
- 5 ounces all-purpose flour
- 4 ounces unsalted butter, softened
- 2 ounces powdered sugar
- 1/2 teaspoon baking powder
- 1/2 teaspoon vanilla extract
Instructions
- In a large mixing bowl, mix the flour, salt and cinnamon. Reserve.
- In the bowl of a stand mixer, combine milk, sugar and yeast. Let stand 5-15 minutes, until the yeast blooms. It should look foamy.
- With the paddle attachment on medium speed, mix in the vanilla and eggs one at a time until fully combined.
- Add the butter and mix on medium until fully combined.
- Working in batches, add the reserved flour mixture a cup at a time and mix on low until all the flour is in the bowl. Scrape down sides of mixing bowl with spatula and mix on medium speed until combined.
- Stop the mixer, replace the paddle attachment (scraping off as much of the dough as possible) with the dough hook. Knead the dough by mixing on medium speed for 7-10 minutes, until the dough is smooth and elastic. The dough will be a little tacky to the touch, but should not be sticky.
- Lightly oil the large bowl you used for the flour. Transfer the dough to the oiled bowl, quickly shaping into a ball. Cover with cling wrap and let proof in a warm spot until doubled in size, about 2-4 hours.
- Meanwhile, wash and dry the stand mixing bowl and make the sugar paste. Add the flour, butter, powdered sugar, baking powder and vanilla extract and mix with the paddle attachment until the paste comes together.
- Divide the paste into 12 balls and flatten using a tortilla press or rolling pin. It's best to do this between squares of parchment paper. Then you can stack the squares of parchment on a plate and refrigerate until needed.
- when the dough has doubled in size, gently punch the dough down. Divide the dough into equal sized balls. (the approximate weight if each ball of dough is 3 oz.)
- Let the flattened sugar paste come to room temperature. Press the sugar paste over the balls of dough. Cover as much of the concha as possible, making sure to press the sugar paste so that it sticks to the dough. You will "squash" the dough a little and that is okay.
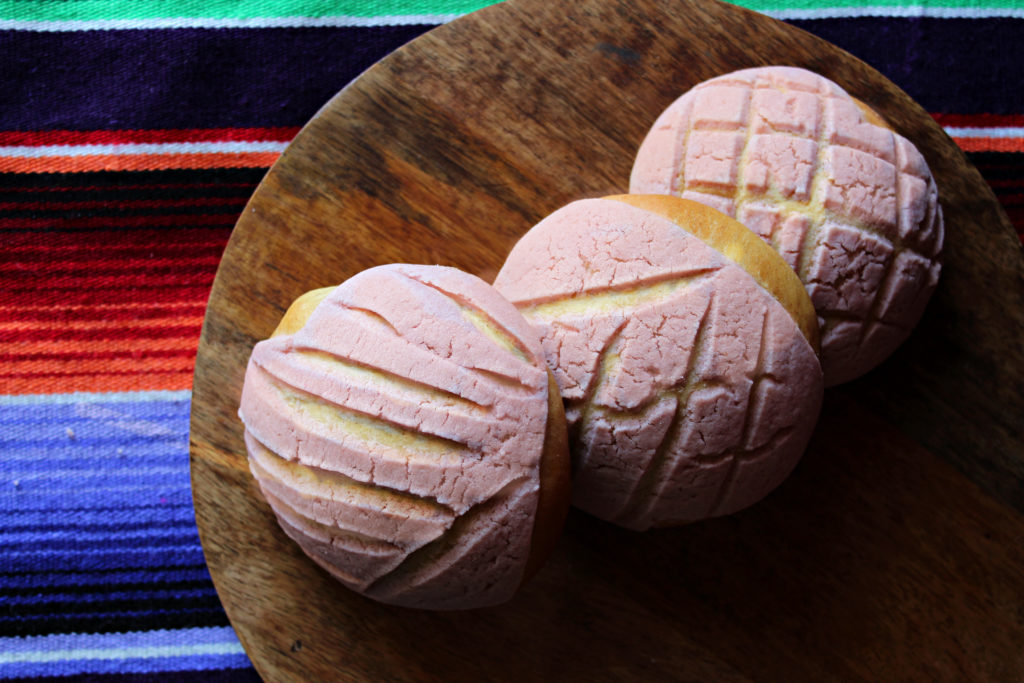
- Use a pairing knife and score your design, or use a concha cutter. Cover with plastic wrap and let rise again, about 45 minutes.
- Preheat oven to 350F.
- Bake the conchas 18-20 minutes. Let cool before serving.
A word on food dye: Hmfpt.
So much has been written on why food dyes are and are not harmful. Do some research and you decide what goes into your mouth. (Another good reason to bake your own.) I have used food dyes in the past, but now I find myself looking for alternatives. These days you can buy organic, natural food dyes in most markets. Or make your own. I can’t decide for you. You’ll notice my conchas are not neon pink, but a lighter blush. That is the trade-off.
As a side note, I tried crushing freeze-dried raspberries and they brown a little during the baking process.
Concha Storage
When we buy pan dulce from a bakery, we leave it in the paper bag it usually comes in, and stick the whole package in a plastic bag. That doesn’t work well with homemade conchas. Store the conchas in an airtight container, like Tupperware, cake stand (with a tight lid) or food storage bags.
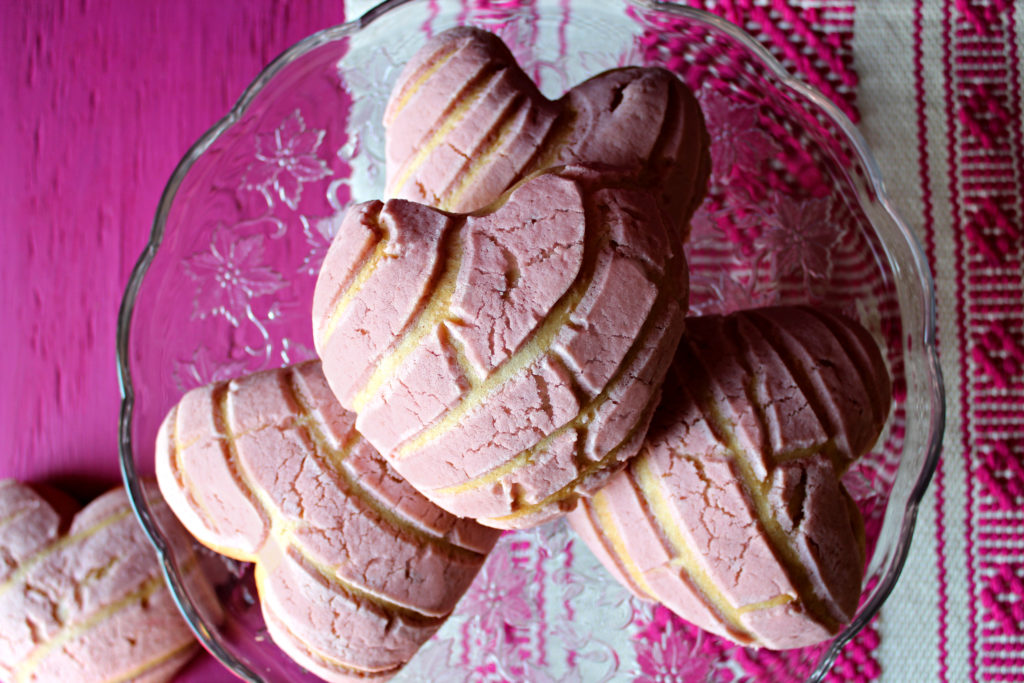
Something really EXTRA
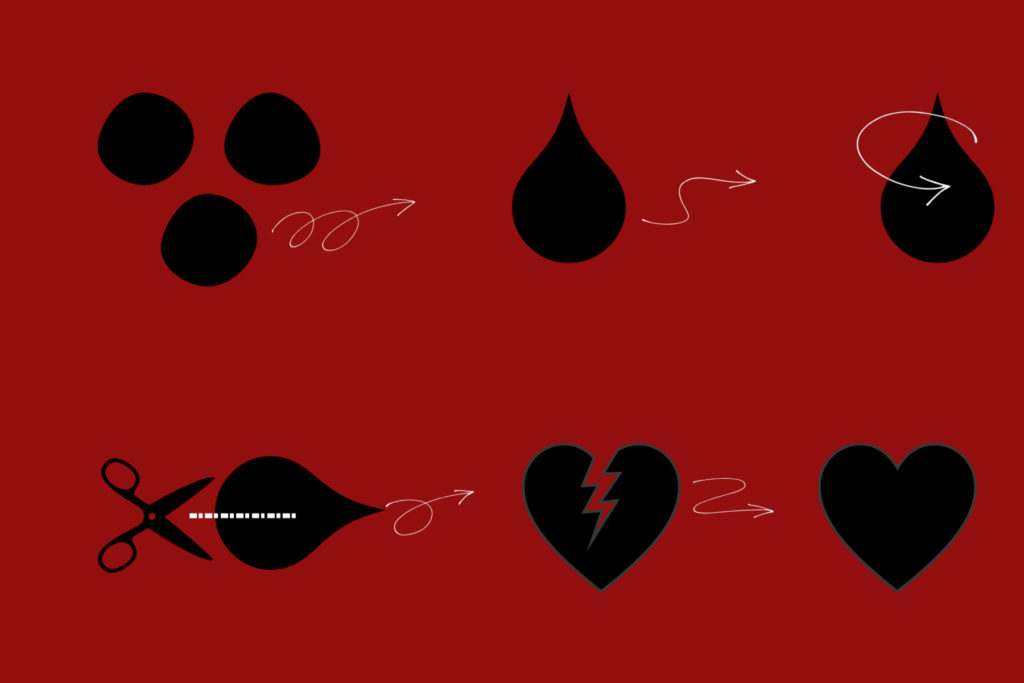
For Valentine’s Day, Anniversaries or other romantically inclined holidays, make heart-shaped conchas. Instead of rolling the dough into a round ball, you’ll want to aim for a big 3D teardrop. Start by making a ball, then roll in an arch and shape into a fat teardrop, like a chola. One side should be pointy and the other round. With kitchen shears, cut the round end almost to the middle point between the pointy end and the round end. Spread the flaps and place them on the prepared baking sheet. Then you can shape it further to look like a heart. Proceed with the sugar paste and let rise before baking.
Wow, a lot of info here. But plenty of detailed info to make good conchas.
There is nothing better than conchas and these conchas look epic! Thanks for sharing this recipe.
Like a chola…::hahahahaha::
Not like a CHOLA 🤣
Perfect 👌🏽 make these for the first time ever came out so good