
While mainstream America is doing its best to make Día de los Muertos, or Day of the Dead, a Mexican Halloween, it is not, and there are many essays, rants, posts and bitter tweets all over the internet that will set you straight once and for all. This, however, is not one of those posts. In our home we celebrate both: Halloween with bowls of sweets, cocktail face painting parties and costumes, and we observe Día de los Muertos with altar building, platters of sweet Mexican bread, champurrado, pan de muerto, marigolds and, yes, we still do the cocktail face-painting party.
Día de los Muertos is not something we “celebrate,” but it is a day to remember and honor the dead. In death, as in life, food nourishes our souls and feeds our memories. Halloween may have celebratory foods, like candy, candy, candy and that awful candy corn, Día de los Muertos also has celebratory foods, albeit a little more traditional like: champurado, pan dulce, tamales, mole, ponche, pan de muerto and more. The idea is to make the favorite food of a deceased love one. The aromas of the food and drink, along with strong incense and marigolds is meant to help the dead find their way home and nourish them in the afterlife.
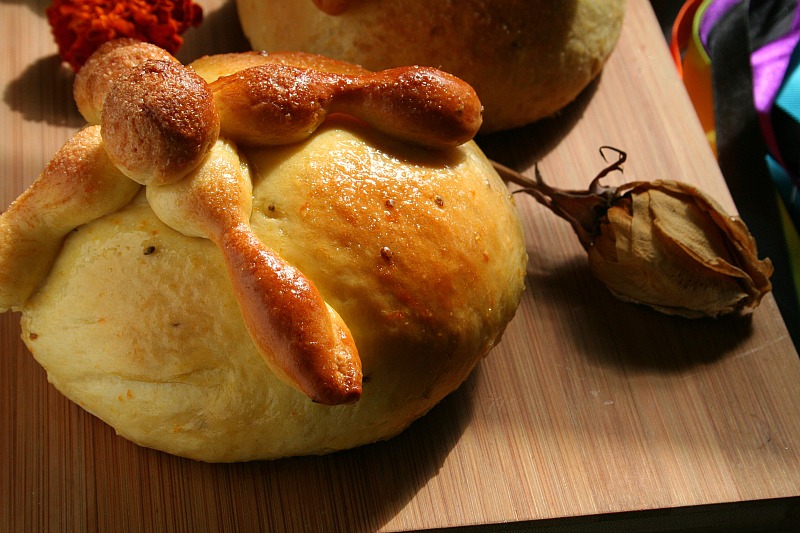
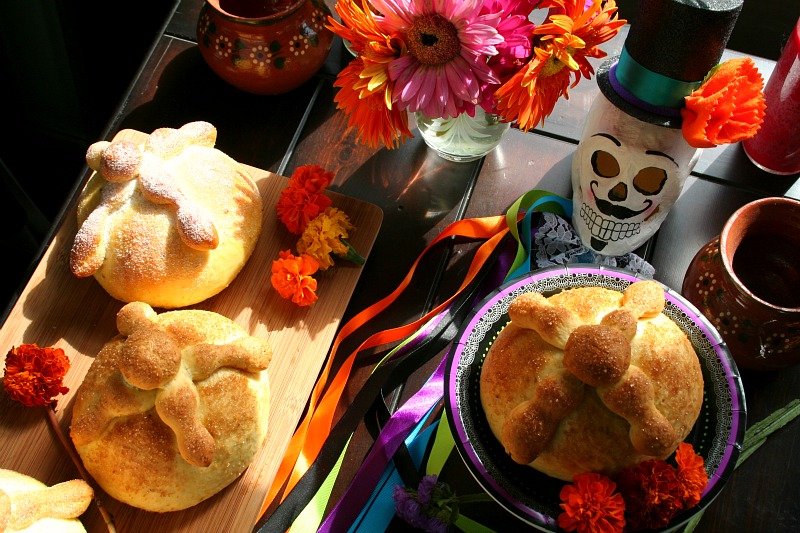
One week before the end of October I will start baking my Pan de Muerto, or Day of the Dead Bread. It is a sweet enriched dough, flavored with fragrant anise, orange zest, warm cinnamon and is decorated with bone shaped pieces of dough that are dusted with sugar. It’s perfect with hot chocolate, coffee or champurrado. And it is also my favorite bread, I don’t understand why we only eat it during this observance. I think I’ll start a campaign to extend the season of this bread, along with capirotada.
Pan de Muerto is not hard to make, but, like most yeast breads, it will take some time. My suggestion is to make a night of it; play some of your favorite music or watch the Friday the 13th marathon and make loaves all night. There is a lot of resting while making the dough so multitasking is allowed. This recipe yields six loaves, but you’ll want to bake more for gift giving, because the living enjoy it as much as the dead.
The topping here is just plain white sugar held on by melted butter. For something more elaborate, you can make an orange simple syrup to brush on the breads. The most common breads use simple white granulated sugar, but you can use turbinado sugar or even colored sanding sugars. Either way, it’ll knock em dead.
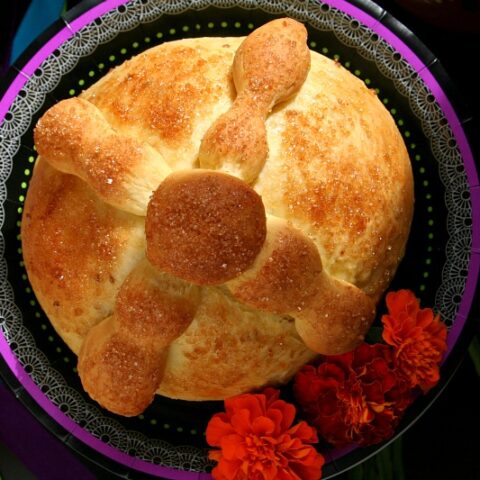
Dia de los Muertos: Pan de Muerto Recipe
Ingredients
- ½ cup whole milk
- ½ cup water
- 2 packages active-dry yeast (or 4.5 teaspoons)
- 5 cups all-purpose flour, sifted
- 1/2 cup unsalted butter, room temperature (1 stick)
- ½ cup white granulated sugar, plus more for dusting
- 4 large eggs
- Zest of two medium oranges
- 1 tablespoon whole anise seed
- 1 teaspoon kosher salt
Topping
- 1/2 cup unsalted butter (1 stick)
- 1/2 cup sugar
Instructions
- Bloom your yeast: in a medium glass bowl, add the milk, water and yeast. Whisk to combine, and allow it to activate in a warm spot in your kitchen, about 5-10 minutes. (It will look foamy.)
- Whisk in ½ cup of flour. Allow this to rest uncovered until it doubles in size, about 25 minutes.
- In the bowl of a stand mixer, with the paddle attachment, cream the butter and sugar, on medium speed, until fluffy, about 2 minutes.
- Beat in the eggs one at a time, one medium speed, until fully incorporated, about 1 minute.
- Once fully mixed, change out the attachment for the dough hook and add your yeast mixture. Mix on medium speed until fully mixed, about 2 minutes.
- Begin adding the flour incrementally, about ½ cup at a time, and mixing on low speed, scraping down the sides as needed. Mix until the dough begins to pull away from the sides. It may remain a little tacky. This process takes about 5 minutes.
- Add the zest, anise seed and salt and continue to mix with the dough hook for about 5 minutes, or until the dough is less tacky and comes off the sides of the bowl easily.
- Place the dough on a clean surface and knead by hand long enough to shape into a ball.
- Grease a large mixing bowl and place the dough in the bowl, cover it with plastic wrap and allow it to double in size in a warm place, about 1 ½ - 2 hours.
- Gently punch down the dough in the bowl and flip it out onto a clean surface.
- Divide the dough into 6 equal pieces.
- Take one ball of dough a cut off 3 smaller pieces. (These should be about tablespoon sized pieces, or ½ ounce pieces.) These will be used for the bones. Roll the large piece of dough into a tight ball. Place on baking sheet.
- Roll the smaller pieces into balls. Take two of those small balls and roll them into long finger-like pieces.
- Lightly brush the bread with water and place the two long bone pieces over the ball of dough in an "X" shape.
- Use your finger to poke down the spot where the "X" meets and place the remaining small dough ball on top.
- Cover with plastic wrap and let rise in a warm spot, about 45 minutes. Repeat with remaining doughs to end up with 6 pan de muertos.
- Preheat your oven to 350° during the last 15 minutes of proofing.
- Bake until golden brown, about 25-30 minutes. (You can cover with foil if they begin to get too brown.) Let cool completely.
- Melt butter (stove top or microwave) and let cool.
- Brush melted butter over the pan de muertos.
- Sprinkle the bread with sugar.
Topping


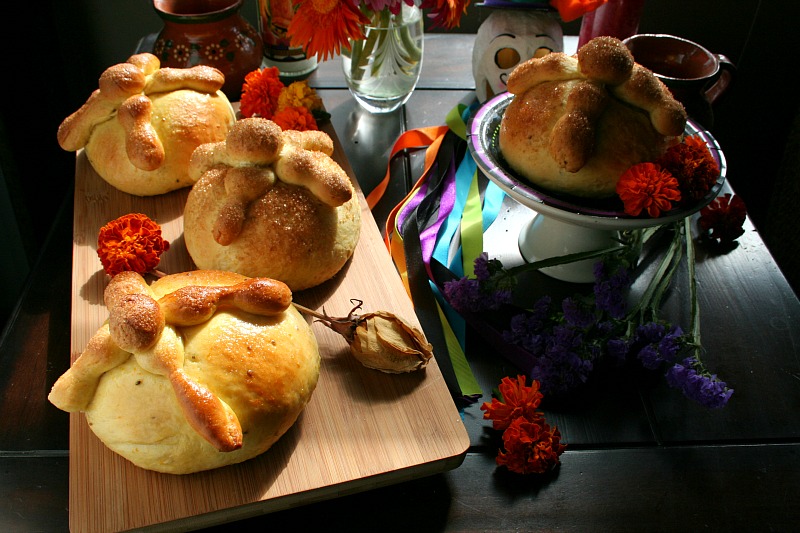
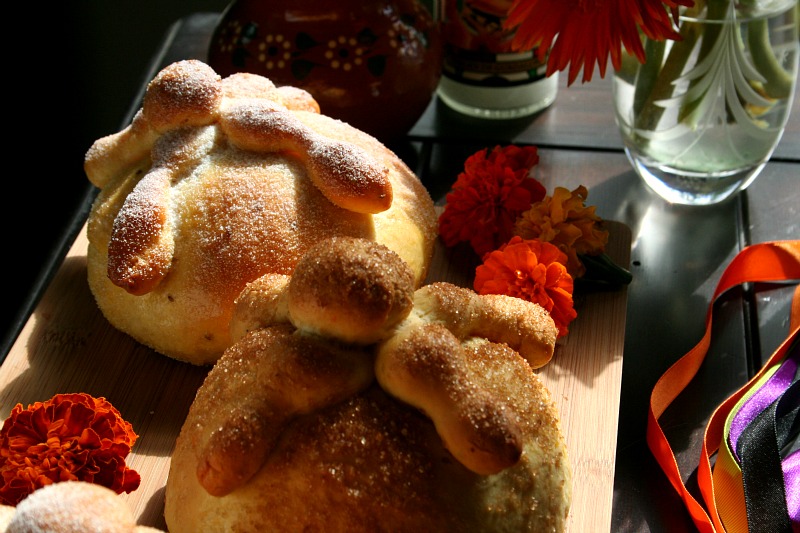
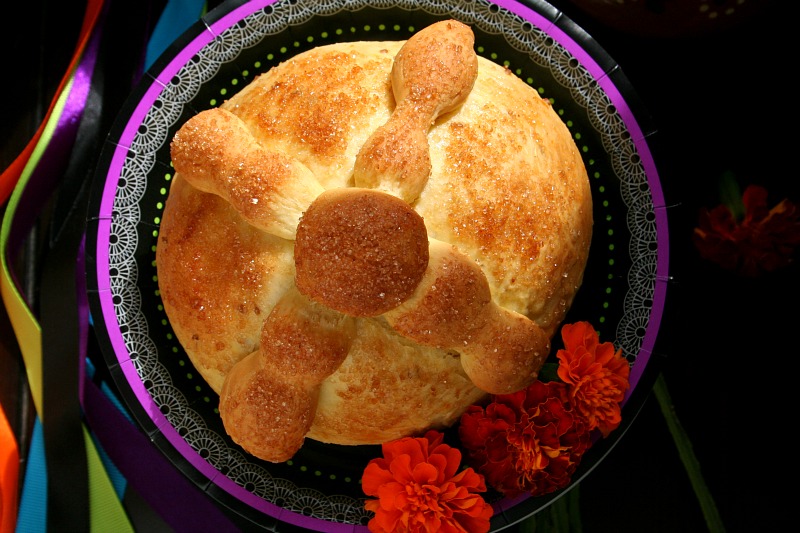
[…] Via Latino Foodie […]
I love the recipe, I will do this for my kids, the design is very attractive.